Clay Dust Safety Checklist for Small Studios
Clay dust doesn't announce itself. You won't see a cloud rise when you wedge a bag of stoneware, and the pale film that settles on the shelf after a bisque load looks harmless. The fine fraction of clay and glaze materials is the part that stays airborne longest, though, and the part that reaches deepest into the lungs. Small studios are the hardest case: one person, one wheel, one kiln, no facilities crew to call. So the safety system has to be simple enough to run on a Tuesday night when you're tired.
What follows is a room-by-room pass through the studio — wheel, glaze shelf, kiln room — plus a cleaning rhythm that keeps silica from layering up week after week. Nothing here needs a renovation. It needs a bucket, a mop, and a habit.
Dust you never make is dust you never have to chase. Before you buy a bigger vacuum, look at where dry clay actually turns airborne in your space. In most small studios the culprits are predictable: trimming bone-dry pots, scraping dried slip off bats, sanding bisque over an open bin, and sweeping the floor with a broom that launches yesterday's clay back into your breathing zone.
Source control also means thinking about how you move through the studio. If you carry a dry greenware piece across the room, tiny particles shed from the foot and rim. Set it on a damp towel or a foam pad. If you dump trimmings into a bin from waist height, you create a small plume. Lower the bin, or better, keep a bucket right under the wheel so trimmings never fall far.
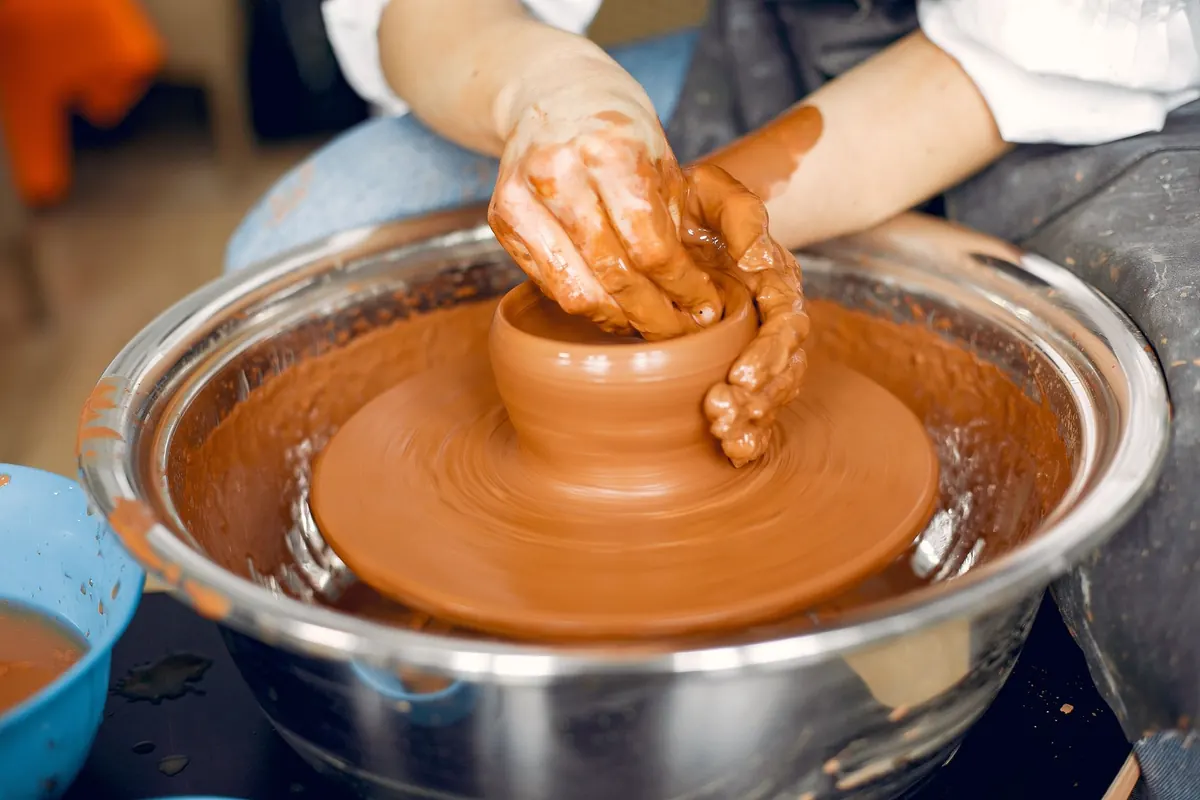
Keep a bucket of clean water and a sponge within arm's reach of the wheel, and use them on the pan, the wheel head and your tools before slip dries into powder that will find the floor. Trimmings go into the reclaim bucket, not onto the floor to be crushed underfoot. At the end of the day, wipe the wheel and the surrounding bench with a damp rag — a rag that then goes into the wash, not back onto the shelf.
Floors matter more than people expect. Smooth, sealed surfaces are easy to wet-mop; bare concrete is fine if it's sealed, and carpet is a poor fit for a clay studio because it stores dust and releases it with every step. Use one mop and bucket for the studio only, and change the water often — muddy water just moves clay around.
Aprons, towels and rags deserve their own routine. Rinse them before they dry out, wash them separately from household laundry, and don't shake them out indoors. If you can, take off your apron and studio shoes at the door. That one habit keeps clay dust from migrating into the kitchen, where it can settle on counters and then get stirred up again.
Hand-building has its own dust traps. Sanding slabs, scraping seams, and cleaning greenware with a dry sponge all release fines. Keep a small spray bottle nearby and mist the surface lightly before scraping. When you use a Surform or rasp, work over a tray and wipe the tool with a damp cloth when you're done. If you use a sanding screen, rinse it in a bucket rather than tapping it against the table.
This is the dustiest corner of the studio, and where raw flint, feldspar and kaolin get handled at their most airborne. A few rules cover most of it.
Glaze buckets themselves are not usually the problem once the powder is in suspension, but dried rims and splattered shelves are. Wipe the outside of buckets when you finish, and keep a damp sponge on the glaze shelf for quick cleanups. If you sieve glaze, do it over a sink or a deep tray, and rinse the sieve immediately. Never let glaze residue dry on a sieve and then brush it out with your hand.
Store dry materials in sealed containers, not open bags folded over. If you decant into jars, label them with the material name and date. When you're mixing a small test batch, work on a cafeteria tray or shallow plastic bin. That tray catches the stray spoonful, and you can rinse it instead of sweeping it.
Kiln dust is not the same as raw clay dust, but it still matters. Firing converts clay and glaze materials into new compounds, and some of those can be irritating or hazardous depending on the glaze chemistry. Kiln wash, shelf scrapers, and vacuuming the kiln floor all create fines. Let the kiln cool completely before opening it, and open the lid or door slowly while standing back.
Clean kiln shelves with a dampened scraper or a dedicated HEPA vacuum if you have one. Do not use a household shop vac unless it is rated for fine dust; many standard vacuums blow the smallest particles straight back into the air. A cheap alternative is to wipe shelves with a damp rag and rinse it outside. Wear a respirator when scraping kiln wash or sweeping out the kiln, and keep your face out of the opening.
Ventilation is not optional if you fire indoors. A kiln vent, an overhead hood, or a window fan that pulls air away from you can make a real difference. If you fire in a garage or shed, open the door and use a fan to move air across the kiln and out. Never fire in a sealed room with no air movement and assume the smell is the only concern.
You do not need a full-body hazmat suit, but you do need to keep dust out of your lungs. A fitted N95 or P100 respirator is the minimum for mixing glazes, sanding, sweeping, and cleaning the kiln. Facial hair breaks the seal on disposable masks, so a reusable half-mask with cartridges may fit better. Safety glasses keep dust out of your eyes, and nitrile gloves protect your skin from glaze chemicals and keep you from spreading material to your face.
Do not eat, drink, or smoke in the studio. Wash your hands before you leave, even if they look clean. Keep a separate studio apron and shoes, and change out of them before you go into the house. If you share your home with children or pets, assume that clay dust on your clothes and shoes can travel. A quick change and a hand wash are simple barriers.
If you can see dust on a shelf, it is also in the air when you disturb it. Clean with water or a HEPA vacuum, not with a dry broom.
A once-a-year deep clean is not a safety plan. The goal is to keep dust from building up in the first place. A simple rhythm works better than an ambitious one you abandon.
Once a month, walk through the studio with fresh eyes and ask a few direct questions. Where is the dust film thickest? Which task makes you cough or taste clay? Which bag is open right now? Which tool gets cleaned last?
If you can answer those honestly, you can usually find one or two small fixes. Maybe the reclaim bucket needs a lid. Maybe the sanding area needs a tray. Maybe the broom should go in the trash and a mop should take its place. Small studios do not need perfect facilities. They need a few reliable habits that survive a busy week.
Clay dust safety is mostly about water, lids, ventilation, and timing. Clean before things dry. Add powder to water. Keep dry materials sealed. Wear a respirator when you disturb fines. Wet-mop instead of sweeping. These are not complicated rules, and together they can turn a dusty studio into a safer one without adding much time to your day. The best checklist is the one you actually run on a Tuesday night.
Photo: Pexels / Pixabay
Previous Post
Setting Up a Home Pottery Studio: Ventilation, Water, and Clay Dust Control
Next Post
Seasonal Studio Reset: Spring Cleaning for Potters