Seasonal Studio Reset: Spring Cleaning for Potters

Spring light is unforgiving in a pottery studio. It comes in low and sideways and finds everything: the ridge of dried slip on the splash pan, the hardened collar of clay at the base of the wheel head, the glaze bucket that has been sitting open since February. You don't have to gut the room. Two focused half-days will do more for your work than a new tool would, and you'll earn the time back within a week.
Work in order of mess, heaviest first: clay, then tools, then glaze, then dust and the kiln. Finishing with the floor means you aren't tracking dried slip back across the shelves you just wiped.
Reclaim is the heaviest, wettest, most tedious job in the studio, which is exactly why it belongs first, while you still have patience. Pull every bucket out and sort it: bone-dry trimmings in one pile, slop in another, and anything unidentifiable set aside for last.
Bone-dry scraps need to slake before they'll do anything. Fill the bucket so the water sits an inch or two above the clay, then leave it alone for a day. Resist stirring. Stirring dry clay into water makes lumps that take three times as long to break down. Once the pieces have collapsed into soft mud, stir to a smooth slurry with a drill and mixing paddle.
To bring slurry back to throwing consistency, pour it onto a plaster bat or into a shallow plaster-lined bin and let the plaster pull the water out. Spread it no thicker than a couple of inches so it dries evenly, and turn it once or twice a day. When it stops sticking to your fingers and holds a clean thumbprint, it's ready to wedge. Still tacky? Wedge it anyway, cover it, and leave it overnight — it will even out.
Two practical notes. Sealed buckets go sour; a strong rotten-egg smell means anaerobic bacteria have been working. The clay is still usable once dried and re-wedged, though you may prefer to handle it outdoors. And if a bucket holds an unknown blend, make a test tile before committing it to a real piece. Porcelain mixed into iron-bearing stoneware can give you speckles, bloating, or both.
Warm vinegar dissolves the hard water scale that builds on plastic buckets, ribs, and water bowls. Don't leave aluminum tools in it, and don't soak wooden ribs or handles for long — they swell and crack. Fine steel wool takes rust off metal scrapers. Dry everything completely before it goes back in the bucket, then run through the rest:
Start by sieving. Every bucket, through your usual mesh, even the ones that look fine. Settling is normal; the fix is water plus a thorough stir and a pass through the sieve, not more dry material. Glaze that has sat for months can hold stubborn lumps that show up later as bumps or crawling on a finished pot.
Wipe the dried glaze off every rim and lid before you put it back. Those flakes drop into the bucket and become grit. A sheet of plastic wrap under the lid slows skinning without making the lid hard to open.
Then deal with the unlabeled one — the bucket from a workshop three years ago, the jar with a faded number. You have two honest options: pull a test tile, fire it to your usual cone, and see whether you like it; or dispose of it properly. Don't gamble it on a good pot.
Keep one scoop per bucket and a rinse bucket of clean water between them. Cross-contamination is how a glossy white ends up with blue specks.
On safety: you can't judge a glaze's suitability for food contact by eye. That depends on the fired chemistry of a specific recipe, so check your supplier's safety data sheet or have a lab test it rather than assuming. When mixing dry materials, wear gloves and a properly fitted particulate respirator rated for fine dust, work in good ventilation, and wet-mop afterward. Fine silica dust is the real long-term hazard in ceramics, and it is entirely manageable with water and airflow. If you have questions about your own exposure, ask a doctor rather than a forum.
Sweeping is the wrong move. A broom lifts dried clay into the air, where it drifts for hours and settles on wet pots. Mop instead, or vacuum with a HEPA unit. Wipe shelves, the wheel tray, the banding wheel, and the windowsills with a damp rag, rinsing often. Never use compressed air on dried clay; that just moves it around the room. Change the mop water when it turns properly milky, and clear the sink trap or plaster trap while you're down there.
Shelves first. Scrape off the old kiln wash with a stiff scraper or rub brick, then recoat thinly and evenly. Loose wash flakes onto pots, and a shelf with a warped or cracked edge is a firing waiting to go wrong. Number them with a marker so you can track which ones are flat.
With the kiln unplugged and completely cool, vacuum the floor and element grooves with a soft brush attachment, and look at the elements for sagging, chipping, or dark patches. Check the thermocouple tip and the door gasket. Anything involving wiring, breakers, or a kiln that trips the circuit belongs to an electrician or the manufacturer — not to a Saturday afternoon with a tutorial.
Restock what you actually reach for: an in-date fire extinguisher in plain sight, a cleaned ventilation filter, a first aid kit that hasn't been raided, and plenty of rags.
Two days, in this order:
Then stop. The goal isn't a showroom; it's a room where you can sit down and throw without first moving four things. A studio that has been mopped, labeled, and cleared does one more useful thing: it shows you what you actually use. Anything that stayed untouched through the whole clean-out has earned a new home — a community studio, a beginner, or the reclaim pile.
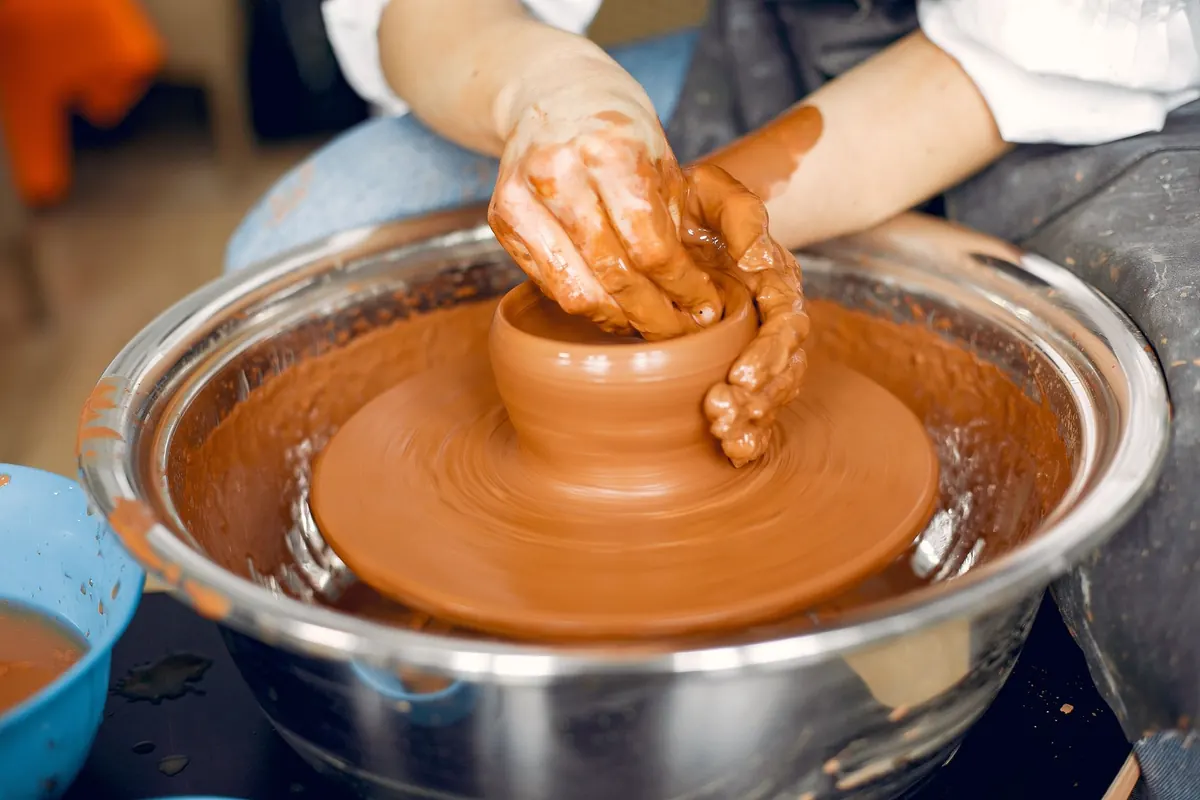
Photo: ThorstenF / Pixabay
Previous Post
Clay Dust Safety Checklist for Small Studios
Next Post
Common Wheel Throwing Mistakes: Collapsing, S-Cracks, and Off-Center Rims