How to Center Clay on the Wheel: A Step-by-Step Guide for Beginners
Centering is the first skill every potter has to earn, and it usually takes the longest to learn. A ball of clay spinning at speed looks simple enough until you put your hands on it and it lurches sideways, slaps your wrist, and folds over like a collapsing tent. The encouraging part is that centering is not a talent. It is a short sequence of repeatable actions: prepare the clay properly, anchor your body, apply pressure with the strongest parts of your hands, and let the wheel do most of the work.
What follows walks through the whole process on a standard electric wheel, from wedging to opening the centered mound. Read it once, then keep it near the wheel while you throw your first twenty pots. Expect mess. Expect several failures. That is what practice looks like at this stage.
Centering begins before the wheel turns. Trapped air and uneven moisture are the two most common reasons clay refuses to sit still, and wedging takes care of both.
Spiral wedging or ram's head wedging both work; pick one and get fluent at it. For now, use a ball about the size of two fists. Smaller balls are far easier to center, and a beginner fighting a five-pound lump learns nothing except frustration. Wedge until the clay feels uniform and slightly warm from handling, then cut the ball in half with a wire and look at the cut face. Pinholes, dry streaks or a swirled pattern mean keep going. When the cut face looks even, press the halves back together and roll the clay into a cone with a rounded top.
Nearly every centering problem can be traced back to the body. If your arms are held up by your shoulders, you are fighting yourself: the arms shake, the clay feels the wobble, and no amount of squeezing fixes it.
Sit close, so your torso is almost touching the wheel. Tuck your elbows against the inside of your thighs or press them into your hips. Your forearms rest against your knees or the splash pan; your hands are the last link in a chain that runs from the floor up through your legs. Shoulders stay down. Breathe out as you apply pressure rather than holding your breath.
The pressure itself is a lean, not a squeeze. Think of pushing your body weight sideways into the clay, the way you would lean into a heavy door. Fingers do very little here. Palms, heels of hands and the sides of your thumbs do the work.
Wet the wheel head lightly with your sponge, then slap the clay down near the middle. A firm throw is better than a timid placement; it seats the clay and knocks out small air pockets. Press down hard with the heel of your hand to stick the ball to the head. It will not be perfectly centered, and it does not need to be. That is what the next step is for.
Start the wheel at medium speed and wet the clay, not the wheel head. Too much water at the base is the classic reason a mound breaks loose and slides across the head.
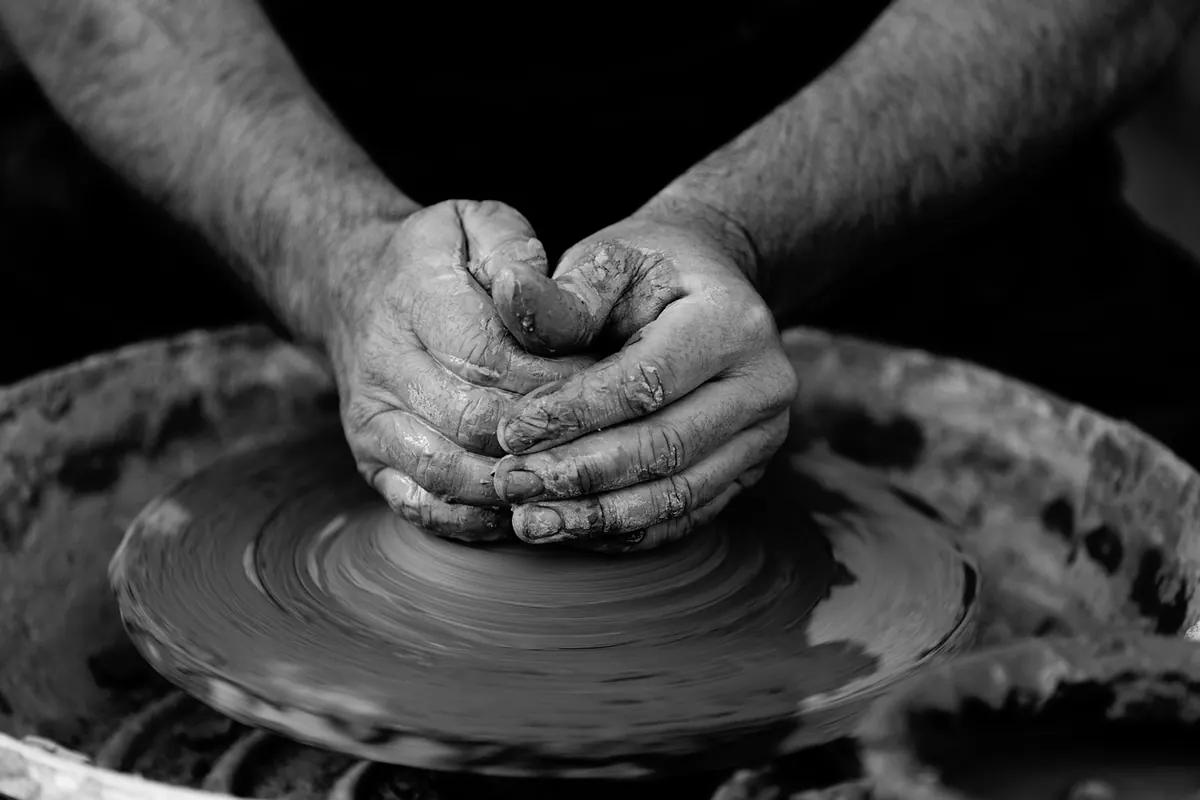
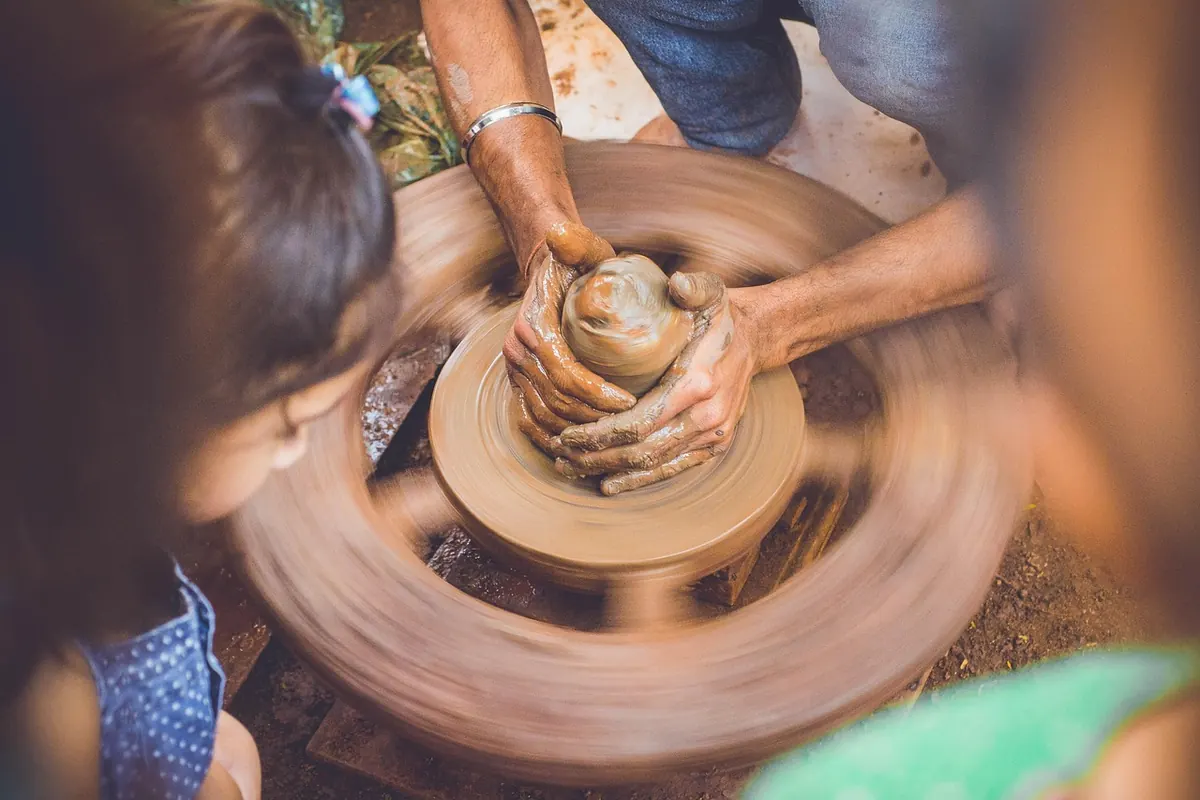
Wrap both hands around the clay. Your left palm sits against the left side of the mound near the base, fingers pointing down. Your right hand rests on top of the left, or braces against the splash pan with the thumb pressing down on the top of the mound. Find the position that lets you push inward and downward at the same time.
Now lean in. Push inward at the base first, working upward in slow passes, and add a little downward pressure from above. The mound should rise into a cone and then flatten slightly under your hands. Keep the wheel speed steady and your hands still relative to each other; the spinning clay moves past your hands, not the other way around.
Coning is the diagnostic step. Push the clay into a cone three or four times, then press it back down into a dome with the heel of your hand. Each cone-up-and-down cycle aligns the particles and evens out the moisture. It also tells you the truth: if the cone leans or wobbles, the clay is not centered yet, no matter how good it felt a moment ago. Repeat the cycle until the cone rises straight and comes down without fighting you.
You will feel it before you fully trust it. The mound stops bumping your hands and starts behaving like a smooth, quiet cylinder. Confirm it with these checks:
Opening happens the moment centering ends, and the same body rules apply. Keep the wheel at medium-slow speed. Press both thumbs together into the center of the dome, elbows braced against your legs, and push down until you leave a floor roughly a quarter-inch thick at the base. Stop before the thumb tips touch the wheel head.
Then widen the opening. Work from the inside with one or two fingers, pressing outward at the base first, then moving slowly upward. Take two or three passes rather than one aggressive push. If the clay goes off center here, it almost always means you pulled too fast or let your braced elbow drift away from your body.
Set aside a session for centering alone. Prepare ten small balls, center each one, cone it up and down three times, then wire it off and drop it in the reclaim bucket. No pots, no pressure, just repetitions. You will burn through the ten faster than you expect.
Keep the balls small, keep the wheel speed consistent, and stop the moment you get tense in the shoulders. Note what worked on a scrap of paper: how wet the clay was, how long each ball took, where your elbows sat. Beginners who keep notes improve noticeably faster than those who do not, because centering is a skill of small adjustments.
Finally, accept a bit of wobble. A mound that is 90 percent centered will still open and pull into a decent pot. Perfection is not the goal of your first month; a calm, braced, repeatable motion is.
Photo: Pexels / Pixabay